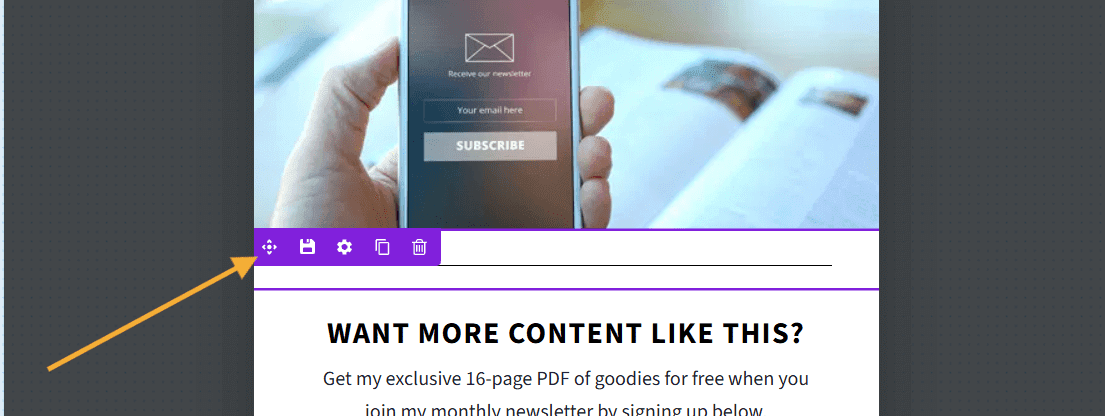
OptinMonster makes it easy to customize the appearance of your campaigns, including adding dividers using a Divider Block.
In this article, you’ll learn how to add a Divider Block to your campaign.
Add Divider Block
- In the campaign builder’s Design view, be sure the Home panel is visible in the left sidebar. If it is not, select the Home icon to return to the Home panel.
- Click and drag the Divider Block into the campaign’s design. Drop it where you would like for it to be placed.
- When you’re finished, Save the campaign.
Style Divider Block
To style a Divider Block for your campaign’s design, follow these steps:
- Click the Divider Block that you wish to style the divider in.
- Adjust the styling settings from the Content tab to the left.
Delete Divider Block
To remove a Divider Block from your campaign’s design, follow these steps:
- Hover over the Divider Block you wish to remove.
- Select the trash icon.
- A modal will appear asking you to confirm if you’d like to delete the Divider Block from your campaign. Select OK to confirm.
- When you’re finished, Save the campaign.
Reposition Divider Block
To move the Divider Block to a different position, follow these steps:
- Hover over the Divider Block you wish to relocate.
- Select the navigation icon and drag the Divider Block into the new position.
- When you’re finished, Save the campaign.
If you’re serious about jumpstarting your website business growth, then get started with OptinMonster today!
Get Started With OptinMonster Today!BONUS: Done-For-You Campaign Setup ($297 value)
Our conversion experts will design 1 free campaign for you to get maximum results – absolutely FREE!
Click here to get started →


